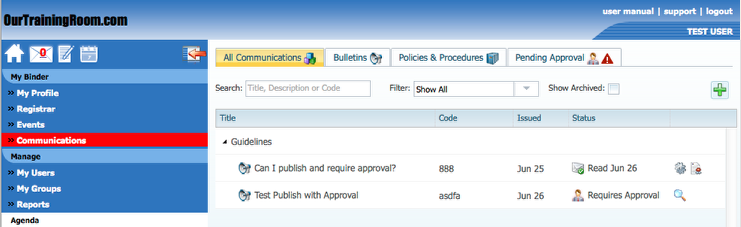
Communications
Communications are those critical pieces of information that need to be disseminated to your users in order to track completion as well as test the user's understanding of the material. Contained are the basic steps for creating, editing, and managing Communications.
As a precursor to managing communications, you should have a basic familiarity with the operations of a communication as outlined in a previous topic.
Types of Communications
As a manager, you have the option of creating two different types of communications, Bulletins and Policies & Procedures. It should be noted that each employer has the ability to enable or disable any one of these types including the ability the change the label that's associated with each. Therefore your Communications Manager may look slightly different than the above.
Each communication will be broken down and contained within the tab that corresponds to the Communication Type to which it was created.
Adding a Communication
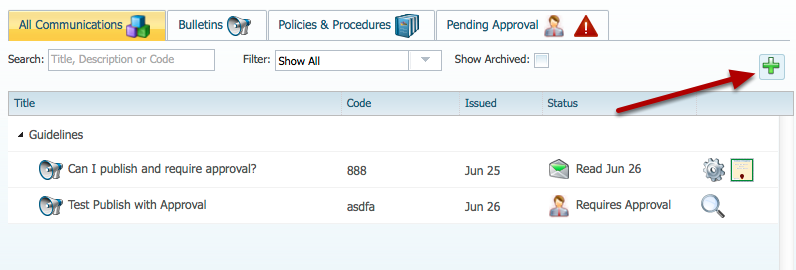
To add a communication, simply click on the addition icon as depicted above at which point the Communications Manager dialog will appear.
Editing an existing Communication
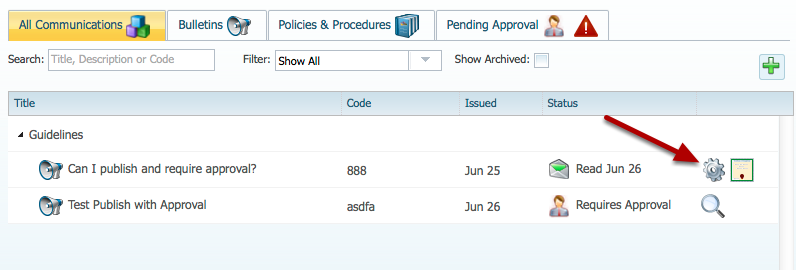
To edit an existing communication, simply click on the gear icon as depicted above at which point the Communications Manager dialog will appear with the pertinent details for that communication.
Communication Manager
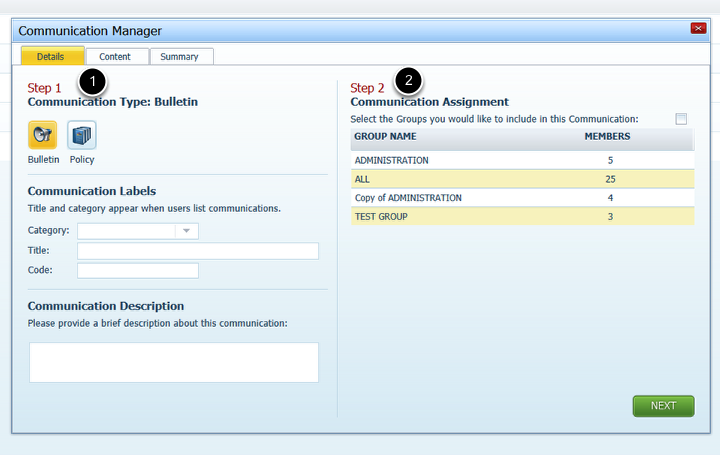
When adding or editing an existing communication, you have many attributes available to you to define and tailor your communication to suit your needs.
Step 1, represents the applicable title, code, category and description pertinent to the communication.
Step 2, represents which group(s) of users that you plan on targeting with this communication.
Communication Content
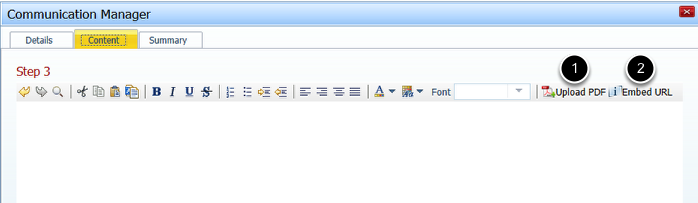
The communication content is much like the body of an email. Anything contained in the editor as depicted above, will be seen by all users targeted with this communication. In addition to typing your message content directly into the editor, you may copy and paste your content from any external source such as Microsoft Word or similar. Should you want to include a PDF (#1) or even a website (#2) into your message body, you would simply click on the applicable icon as show above.
Summary
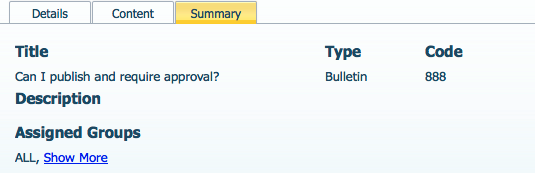
Having now defined the attributes, the targeted users and the message to be sent, a quick summary of this information will be offered for review.
Publishing
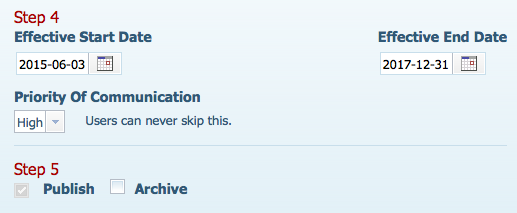
When you are ready to publish your communication, simply supply the start and end date along with the priority of the document. The effective start date represents the date that this communication will first become available. The communication will then be available to be read up the effective end date. Low priority documents can be skipped or ignored until a time when it's convenient for the end user to address this material. By making this document a High priority, you will eliminate the user's ability to skip and he or she must address this communication before they may proceed to any other areas of the application.
Revising
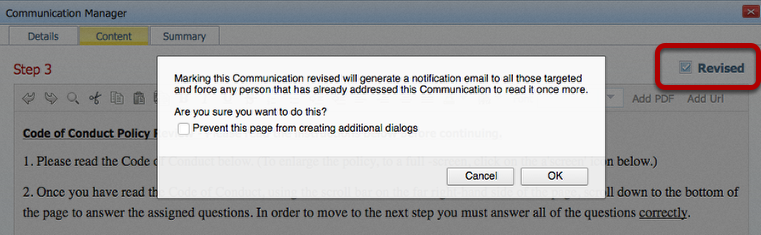
Should you need to change the content once published, you can mark the Communication Revised as depicted above. By doing so, an email will be generated to all users targeted indicating that there's been a change. The next time this person accesses the system, he or she will be expected to address this document once more.
Archiving

If you feel that this communication is no longer applicable or no longer relevant, you have the option of archiving the item. Archived items are still available to be reported on, however they are no longer available to the targeted group of users to be read.
Archiving is often useful for versioning documents. If for example you have updated your policies and procedures for the year, you may decide to first archive the previous year's communications thus preserving a full document chain so at any time you can identify which users have read which versions of the document.
Email Options
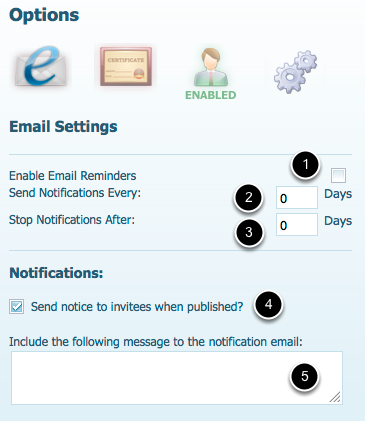
Each communication includes the option of sending out an initial email notice to all those users targeted as well as turning on email reminders for those that have yet to address the document.
If you enable email reminders (#1 as depicted above), you can set the interval as to the frequency you would like these reminders delivered (#2), including an optional expiry date as to when you would like these reminders to stop (#3). If you set the Stop Notifications After to be zero days, then the notifications will continue until the communication end date is reached or the communication is archived. It is important to note that only those users that are incomplete and have not addressed the communication will receive these reminder notices.
If you would like an email to be sent to all targeted users upon publishing this communication for the first time, simply click on the applicable check box as depicted in #4 above. If you would like to personalize the message that will be sent, simply include a message of your choosing in the box provided (#5).
Certificate Options
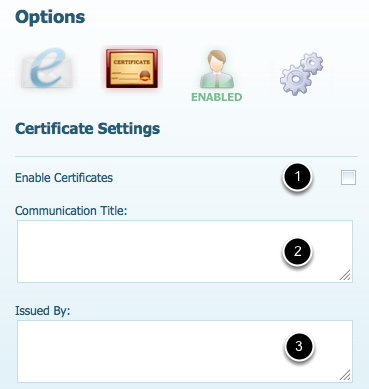
Should you wish to enable a certification of completion for those users that have addressed the communication, simply check the applicable box to enable this feature (#1 above).
You have the option of including a personalized name or title (#2) to appear on the certificate as well as specifying the issuer or issuing body that will sign the certificate (#). Leaving these fields empty will result in a certificate being issued under the title supplied for this communication being issued by OurTrainingRoom.com
Management Approval
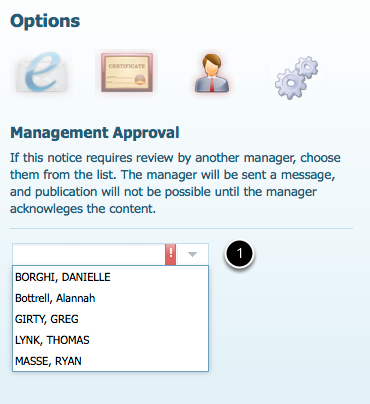
The Communications Manager offers a single level manager approval process. Should you volunteer to submit this communication for management approval, simply specify the name of the intended manager (#1).
Having selected the intended manager, upon Saving, an email notice seeking approval will be generated to the person selected.
Miscellaneous Options
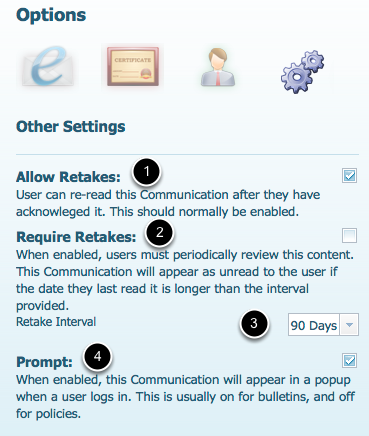
Allow Retakes (1): Normally enabled, this option determines whether a user can access and read this communication as they wish. If this is unchecked, the user will have a single opportunity to read this document.
Requires Retakes (2): You may indicate that this communication requires attention on a predetermined interval (#3). The user will be prompted to read the communication every X (#3) days. This is often enabled annually as a refresher on the topic.
Prompt (3): If selected, the user will be prompted to address this communication immediately upon logging into the system.
Finding Communications Requiring Approval
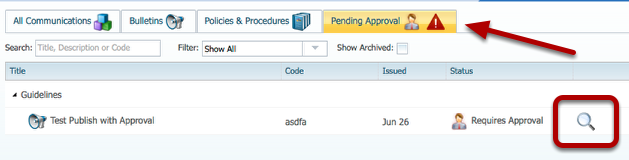
As an approving manager with pending approvals, you will be presented with a Pending Approval tab containing a list of all those documents requiring your attention.
To initiate the approval process on a communication, double click the row or click on the magnifying glass on the item of interest.
Approving Communications
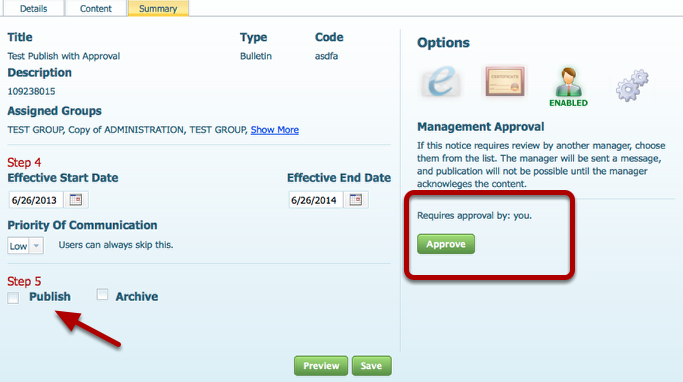
As an approving manager, you have the ability to make any modifications to the document as you see fit before approving an item.
Once you are satisfied with the information contained, to approve the communication, click on the Approve button as depicted above. Upon approval, a notification email will generated and sent to the document creator indicating the new status.
Now that you've approved the document, you may decide to publish this communication and make it active or you defer this process to the document creator.