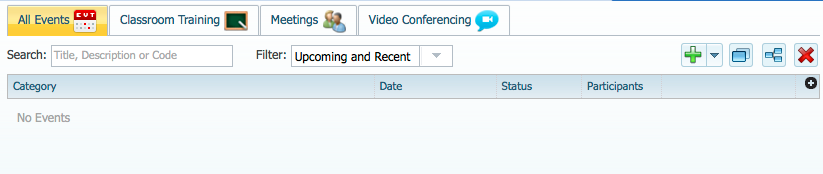
Events
Contained are the basic procedures for creating, editing, and managing events. The Events Manager can be used to track any activity whether it be classroom based training, informal tailgate talks/training, meetings and seminars, or to facilitate video conferencing.
As a precursor to managing events, you should have a basic familiarity with the operations of an event as outlined in a previous topic.
Types of Events

As a manager, you have the option of creating various types of events of which include Classroom Training, Meetings, and/or Video Conferencing events. It should be noted that each employer has the ability to enable or disable any one of these types including the ability the change the label that's associated with each. Therefore your Events Manager may look slightly different than the above.
Each event will be broken down and contained within the tab that corresponds to the Event Type to which it was created.
Duplicating an Event
For convenience purposes, you may find it helpful to duplicate an event should you need to create multiple sessions where only a small portion of the event needs to be changed. This often becomes handy when a series of classes are being scheduled where only the start and end time need to be changed.
When duplicating an event, you will effectively copy over all of the attributes from the first event including the event attendance that is listed in the Roster. The newly duplicated event will remain unpublished and in draft mode until you decide that it is ready to be published.
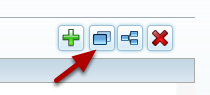
Grouping an Event
Should you have the need to group an event into a series, simply click on or highlight each Event to be grouped, and select the group icon as depicted above.
Grouping events becomes particularly helpful for reporting purposes, in that you can determine if a user has completed or not completed the series. Grouping is often beneficial when scheduling multiple classroom training sessions at various dates and times. A user must attend one of the available sessions and should be credited for completing the group/series as a whole upon attending.
Deleting an Event
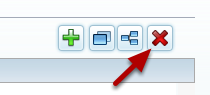
Should need arise to delete any one of your Events, you may simply click on one or more of the Events listed in the grid and select the delete icon as depicted above.
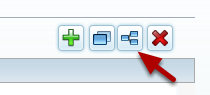
Adding an Event
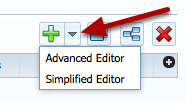
To add an Event, simply click on the addition icon as depicted above at which point the Event Manager dialog will appear.
You have the option of adding an Event using the Advanced or Simplified Editor. The Simplified Editor will present you with a minimalistic
view only prompting you to fill out the mandatory fields when creating an Event. The Simplified mode is ideally suited when adding in
historical entries.
Advanced Editor
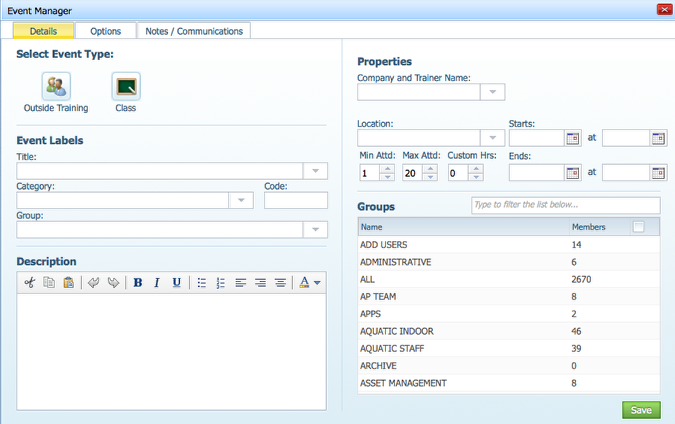
When adding or editing an existing event, you have many attributes available to you to define and tailor your event to suit your needs.
Pay particular attention to the Facilitator(s) option. You may list one or more Facilitators for this particular event. These might be class instructors, external contractors or any person(s) managing this event in addition to yourself. The individuals list, if they have an account within the system, will be able to manage the Roster to add/edit/or remove people from the event, mark user completion, and manage approvals if necessary.
Once you've defined your basic event properties, you will have the option of adjusting any available property contained within the Options tab (#2).
Simplified Editor
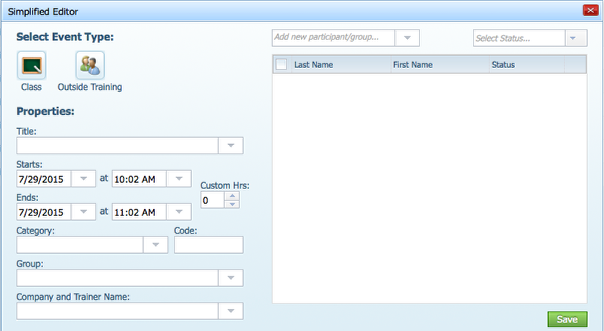
As the name suggests, above depicts the Simplified Editor. The Simple Editor combines the event creation process and the roster together in one screen.
This is ideally suited for those having to add historical events where they want to record that event has occured and mark who attended and completed in one action.
Event Groups
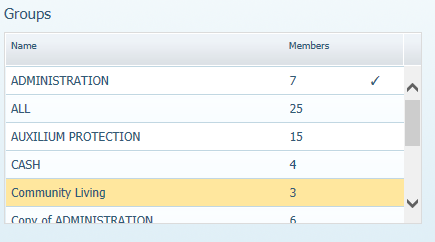
By selecting one or more of your available Groups, you are indicating which groups of users has access to register for your event. New groups can be created using the Group Manager.
Options
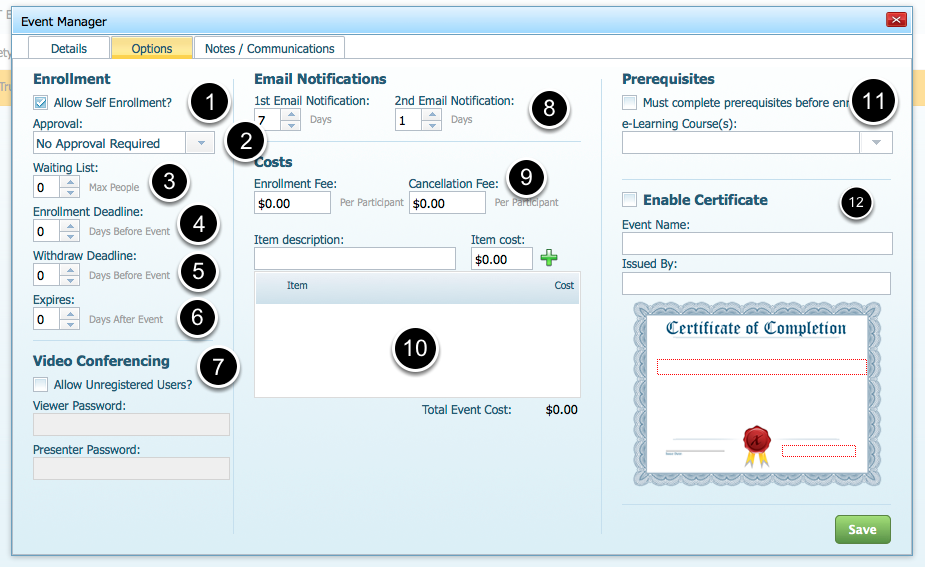
Should you require, you have the option of defining more advanced properties for your event.
1) You may choose to allow self enrollment. If checked, anyone targeted in the Groups will have the opportunity of signing themselves up for an event of their choosing.
2) If self enrollment is enabled, you may choose to add an approval chain, where upon signing up, this person's supervisor, or the Facilitator, has to approve the registration before being enrolled.
3) Should you anticipate requiring a waiting list, you may decide the maximum amount of users that may be held in a waiting list before the event reaches capacity.
4) You may specify an enrollment deadline X days before the event start date.
5) You may restrict uses from withdrawing from the event X days before the event start date.
6) If the event carries an expiration, you may chose to add an expiry date where for those people whom have completed the event, his or her certification will then expire X days after the event.
7) If you're creating a Video Conference Event, you may require a password for any person that does not have an account within the system to join this event. A link will be emailed to the event creator for those external users to use in order to join the conference.
8) If you would like to send a reminder to those registrants of your event, you may elect to send up to two reminder notifications X days before the event.
8) You can set an enrollment and cancellation fee if applicable.
10) You may record any number of event related costs such as those costs to book a meeting space, provide lunch, rent a projector, etc.
11) You may indicate that one or more e-learning courses are required before enrollment is allowed for this event. Only until such point that these e-learning courses have been completed, will the system allow this person entry into the event.
12) You may choose to offer the ability to print a certificate for those registrants whom have been marked as completed the event.
Creating Notes
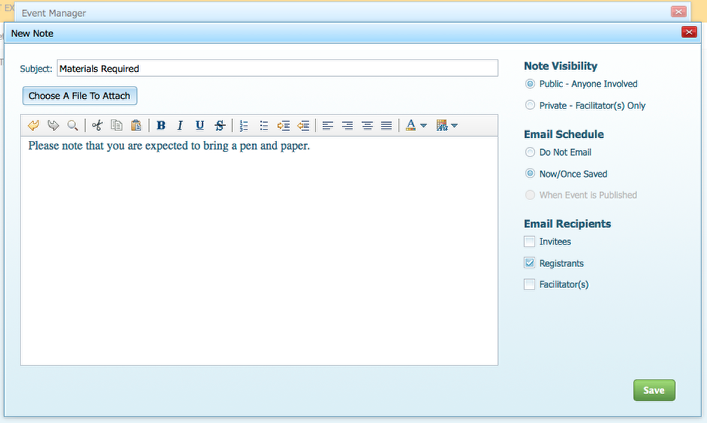
Once you have saved an event, you are able to create notes and see communications you have made.
"Note Visibility" this option gives you the ability to control who is able to see the notes you have made. "Public Notes" are for the registrants. "Private Notes" are for facilitators only.
"Email Schedule" this allows you when an email of the notes will be sent if you choose to do so.
"Email Recipients" this allows you to chose who these notes will be emailed to if you so choose to email.
Roster

Having published your event you, the event creator, or any of your Facilitators will have the ability to manage the roster for this event.
Adding New Registrant/Group or Registrants
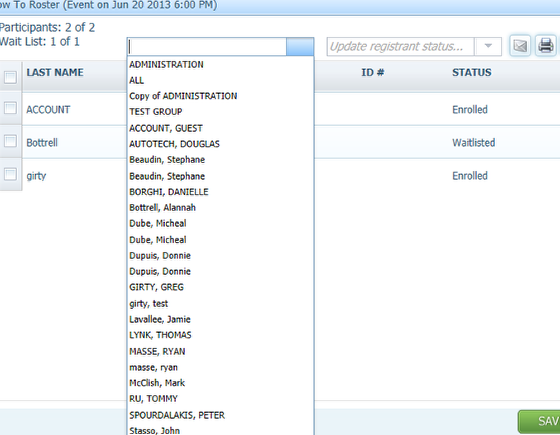
If you would like to add more registrants or an entire to group to the event you can through the roster, by simply clicking the drop down that is labeled "Add New Registrant/Group". This will then show you all of your groups or individual persons.
Managing the Waitlist
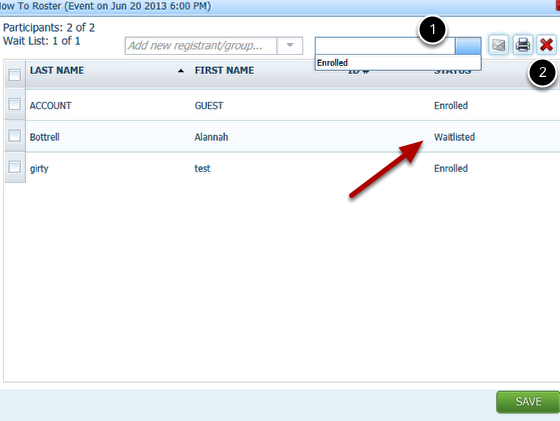
When managing the roster concerning those registrants that have been waitlisted, you will have the option of doing one of two things; Moving them out of the waitlist thus enrolling them into the event; or canceling the enrollment.
In either case, you will first need to select one or more registrants whom are waitlisted, then either change their status to Enrolled (#1 above) or by clicking on the red X icon (#2) to cancel their enrollment.
Update Registrant Status (after the event)
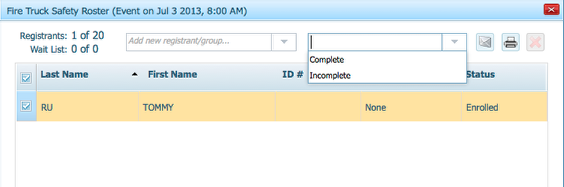
Once your event is complete, you will have the opportunity to record a registrants status. Your options are:
Incomplete: the registrant did not attend the event, or did not successfully meet the minimum requirements for completion.
Complete: the registrant met the requirements for this event and is completed.